Prior to planting we applied two fertilizers and a pre-emergent herbicide to the greens. The fertilizers were applied to be readily available for the sprigs upon planting. We used a (46-0-0) and (7-23-19) fertilizer for this application. These fertilizers were selected based on a variety of factors associated with our specific site. The pre-m herbicide was for control of crabgrass and goosegrass. Oxidiazon is the common name of the product we used. This product is the only pre-m that will not interfere with the establishment of new turf.
Below are pictures describing the various stages of the sprig planting process. The first picture shows a full bag of sprigs as they arrived. These bags are placed all over the surface of the green. We used 15-20 bags per green.

The bags were then placed onto tarps for opening. The tarp prevented foot and hand marks in the surface from grabbing the sprigs.
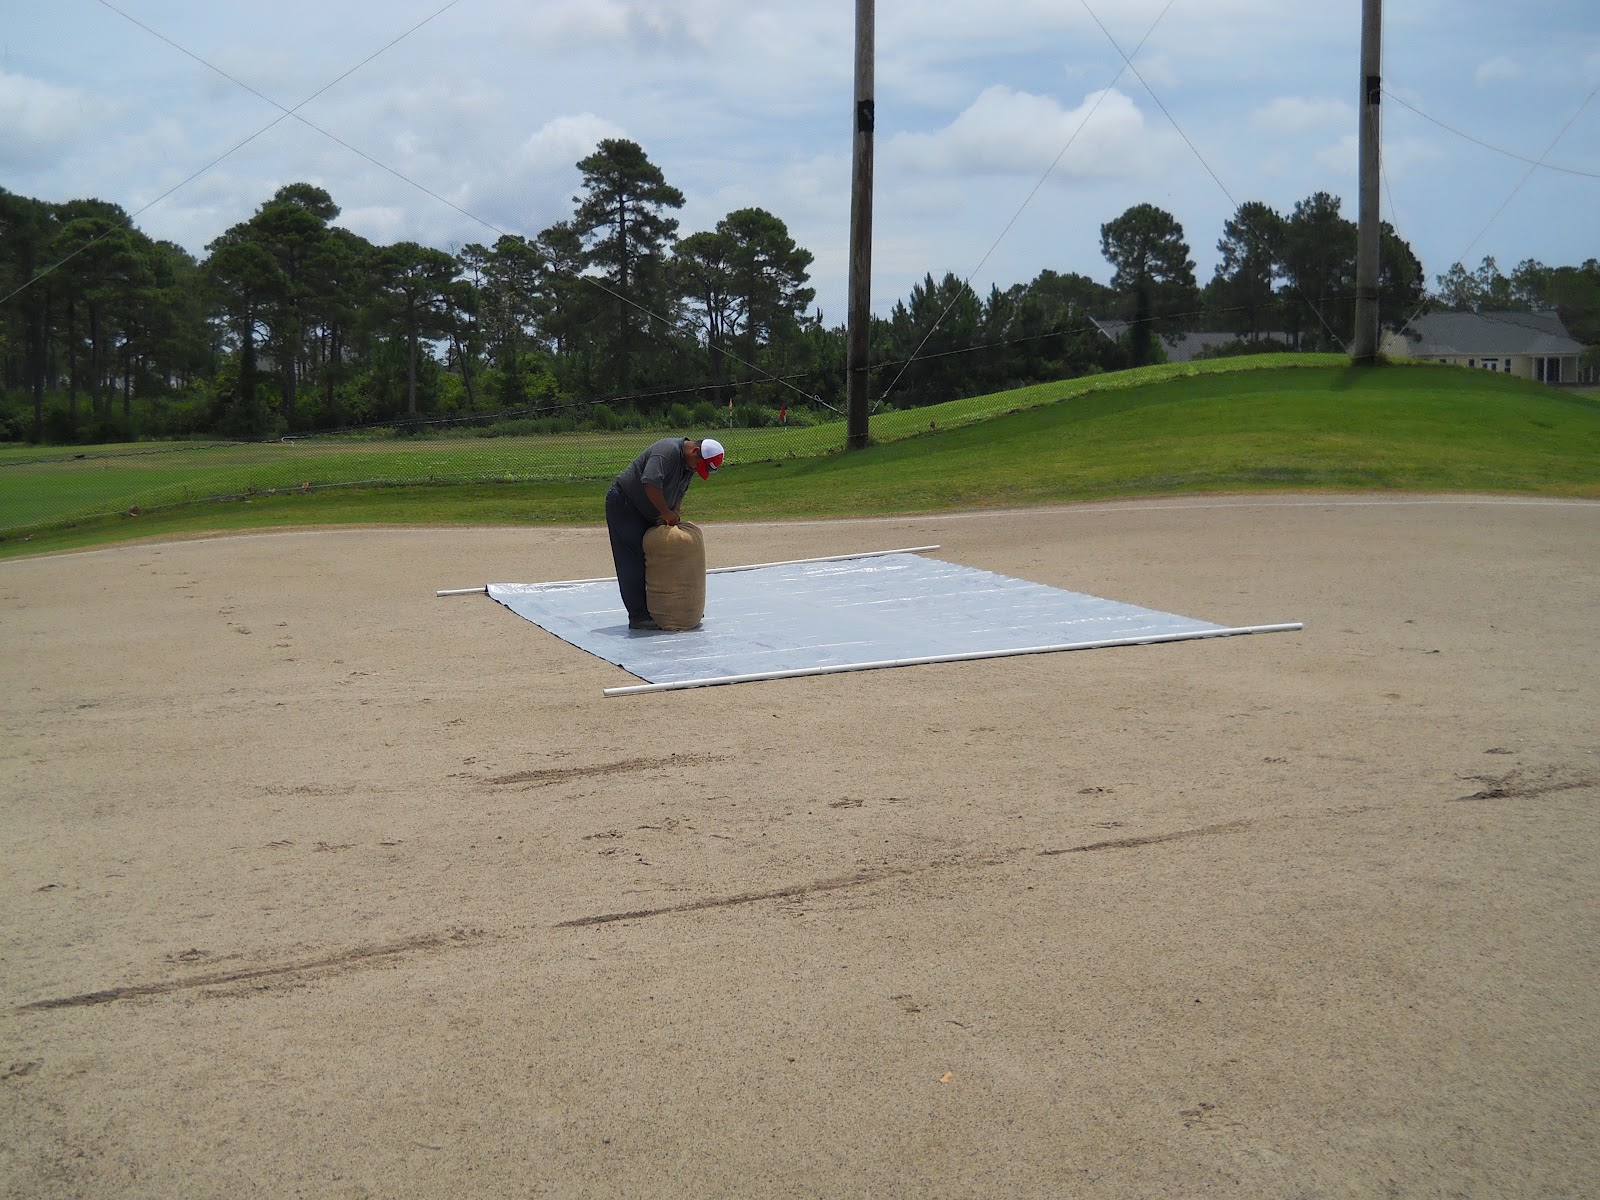
Here is an opened bag dumped atop the tarp. The sprigs were compacted tightly in the burlap sacks, therefore we had to spread the bag over the tarp in order to seperate the sprigs.

This photo shows the laying of the sprigs. It is just as it sounds. We would grab handfuls of sprigs a shake them out all over the surface. This process was similar to spreading bales of straw.

Below you can see the green take shape. We had roughly 10-15 people per green spreading the sprigs. Each green took approximately 30-40 minutes to spread.

Near completion we began to apply water to the sprigs. This helped to keep the sprigs in place until we could apply water with the overhead irrigation. Below you can see a green in the final stage of sprig laying.

The next step was to slice the sprigs into the surface. We sliced the sprigs in two directions. This process helps to promote good soil to sprig contact. The slicing also helps to keep the sprigs intact on the surface. This theory was tested and proven Monday night. We received two inches of rain and had zero displacement of sprigs.

After slicing, we topdressed the greens. We applied a heavy layer of sand & peat on top of the sprigs. The topdressing provided the sprigs with the proper soil medium to encourage growth. Below you can see a photo of the green being topdressed.

Below is a photo of the topdressed surface. You can see how the sprigs and sand/peat mixture have become incorporated onto the soil surface.

The final stage in the sprig planting was to roll. The rolling helps in smoothing the surface and promoting soil to sprig contact. Below is a picture of our roller in action.

And then finally, water. Watering, rolling and fertilizer will be our primary focus over the coming weeks. At this point the sprigs need to be treated like seeds. We will apply light amounts of water at frequent intervals to establish the sprigs. At that point we will begin to reduce the frequency of water application.

After months of preparation and planning, the sprigs have finally been laid. Our focus now shifts to establishment and maintenance of the green surfaces. I encourage all to stop by and check on the new greens. And always, continue to follow the blog for updates on their progress. Also, follow along on Twitter @stjamesturf.
No comments:
Post a Comment